

I’ve decided its finally time to learn Illustrator… I found this tutorial on Youtube & decided to give it a go.
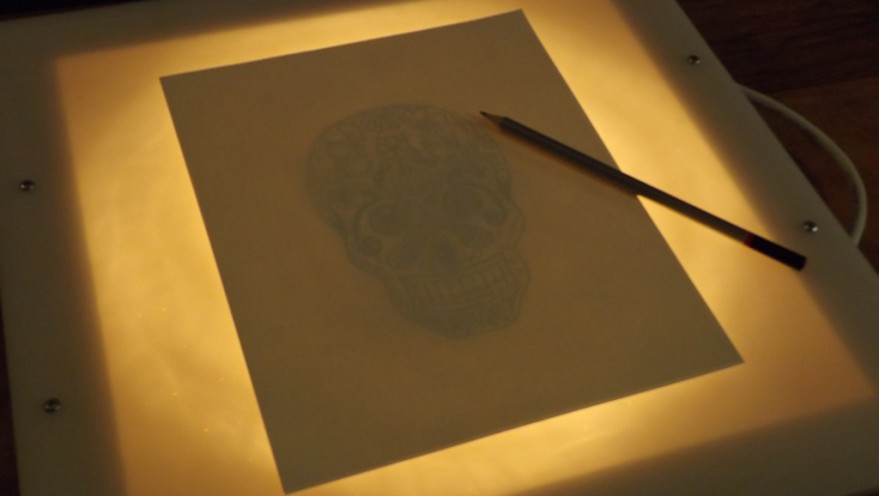
A hand drawing is required for the tutorial… it uses a Mexican skull… I thought this a neat task to try… but because of this it took me 3 days to even get started the tutorial! I drew by hand my first skull & liked it, but it was a bit of a mess, somewhat asymmetrical & lots of eraser marks, so tracing a copy was the next step. Frustrated by the difficulty of this task on my dark table, I decided to look into making a lightbox. Turned out it would be easy, cheap & well worth the trouble!
Materials:
- Unfinished Art Shadow box (12″ x 12″)… found at Michaels for $13.50
- Rope Light… found at Home Depot for $9.98
- Acrylic Plexiglas cut to size at Plastic Works for $4
- Drill bit for plastic found at Plastic Works for $5.49
- Screws & bolts from Home Depot for $3
Total: $35.97
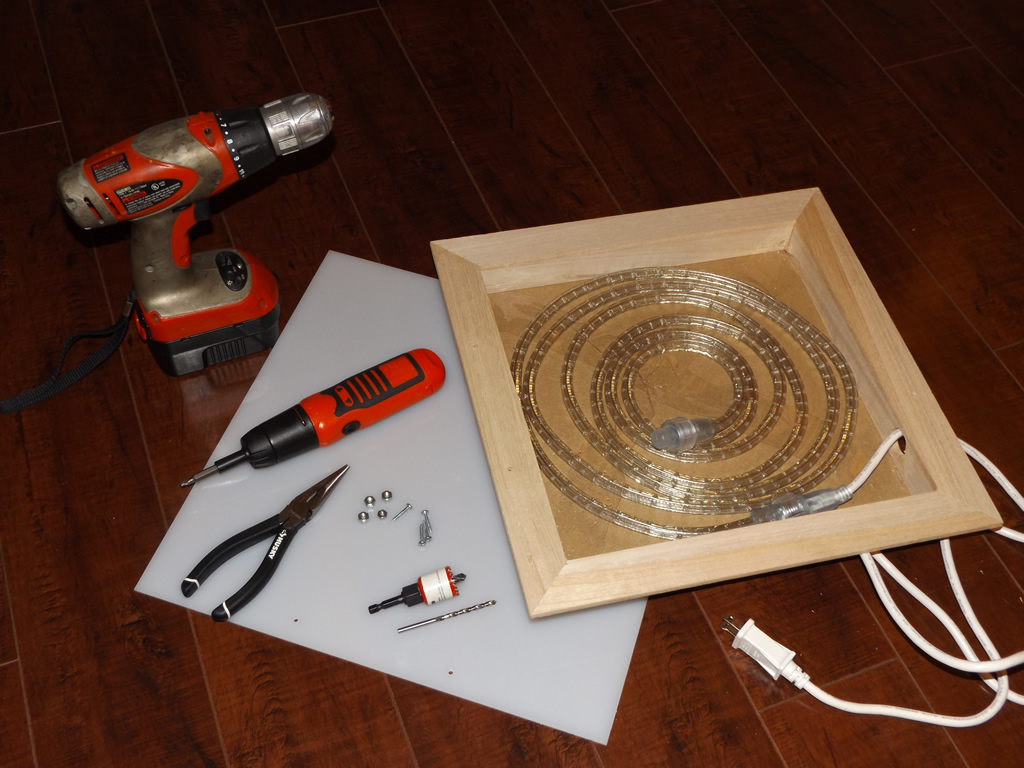
To make this I first went to Michaels to peruse their unfinished wood section where I found what is called a shadow box, size 12″ x 12″. I also considered a box with a glass top & hinges, which may have been easier with the hinges & latch built in, but went with the shadow box because of the dimensions.
With the shadow box I headed off to the plastic supply place I found online called Plastic Works. There they cut me a piece of acrylic plexiglas to the exact size I needed. At Home Depot I found the rope light that I taped down in the shadow box after drilling the 1 inch hole for the cord to fit through.
I drilled the holes for the screws on the sides rather than the corners, both to avoid the joins of the box & to place them where I thought they would be least likely to bother me while drawing, and ta da!… my lightbox was complete. I fished up my pencil drawing of a Mexican Skull & was content.
Now… I’m off to start the tutorial on Illustrator!
Phewph.